Sections
5 Essential Elements for a Killer Brand Video
Reading Time: 5 minutesAccording to HubSpot, over 50% of marketers say videos have the best ROI of all their content efforts. Clearly, video is a powerful marketing tool for brands.
Here’s the bonus: customers love it, too. According to that same survey, 43% of people want to see even more video content from the brands they love.
Best of all, you don’t need to have a film degree to make a compelling video for your brand. Below we’ll walk you through our own process for filming client videos here at Your Marketing People, using an example video we made for our client Charla.
Follow these basic tips for your video, and you’ll love the results.
1. Create a story with your audience in mind.
Think of your favorite marketing videos. They’re probably not random screengrabs of the product, are they? We’d bet your favorites share a story that struck a chord with you.
Follow this same approach for your own video. Think about your target audience and what will motivate them to take the desired action from your video. If you want to endear customers to your brand and build loyalty, tell them your story of starting the business. If you’re looking for customers to sign up or purchase, explain what sets you apart or highlight real customers who love working with you.
Whatever you do, keep it real. Be honest. People are savvier than you think, and they can tell if your story is genuine.
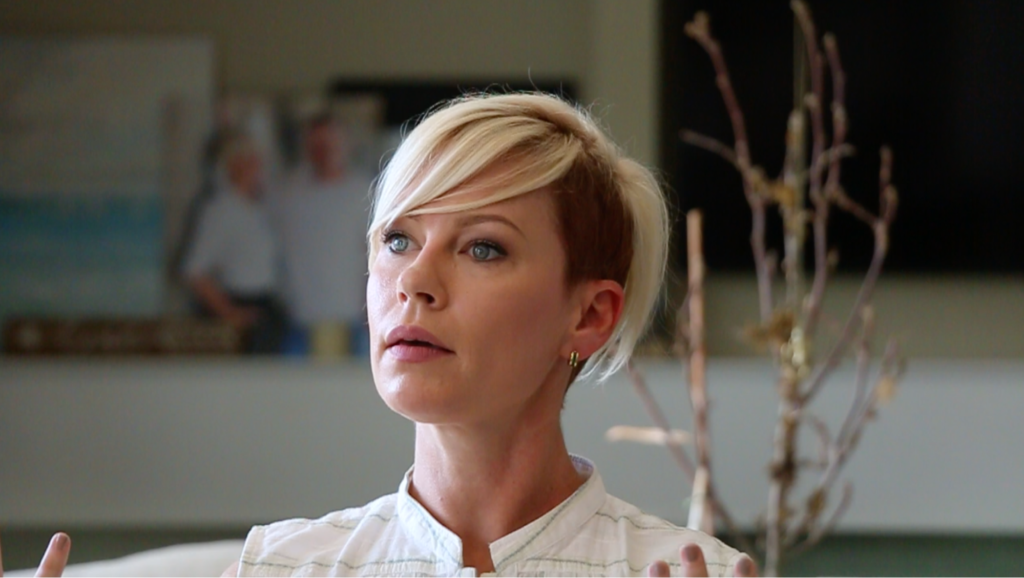
“Not long ago, I had two jobs and no time for fun things. I needed a change. I needed flexibility. My business has completely transformed my life for the better.” – Charla Thomas, Business Owner
2. Use the right, professional equipment.
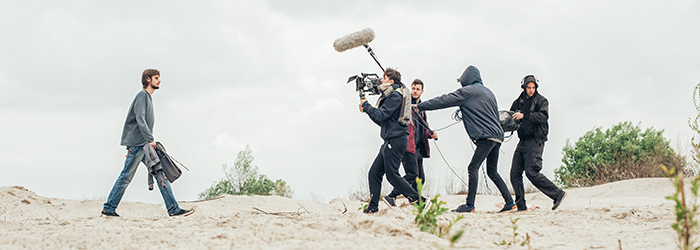
No, the right equipment is not your smartphone. Reserve that for your social media. For your marketing video to come across as professional, you need to use professional equipment. Fortunately, you just need a few key pieces of equipment. Here’s what our head of videography, Emily, uses:
- For the visuals: We recommend using 2 DSLR cameras with tripods, and at least one should have a zoom lens. With two cameras, you can capture two different angles, lending variety to your video (and giving you a backup if one shot doesn’t come out as planned!)
- For the sound: You don’t need super-whammo equipment to get quality sound. A portable digital recorder and Lavalier mic are all you need!
- For bringing it all together: No one likes a shaky video. A DJI Osmo is an affordable option that makes it easy for you to capture stable movement shots. For more experienced videographers who don’t mind getting a little technical, DSLR gimbals are a pricier option.
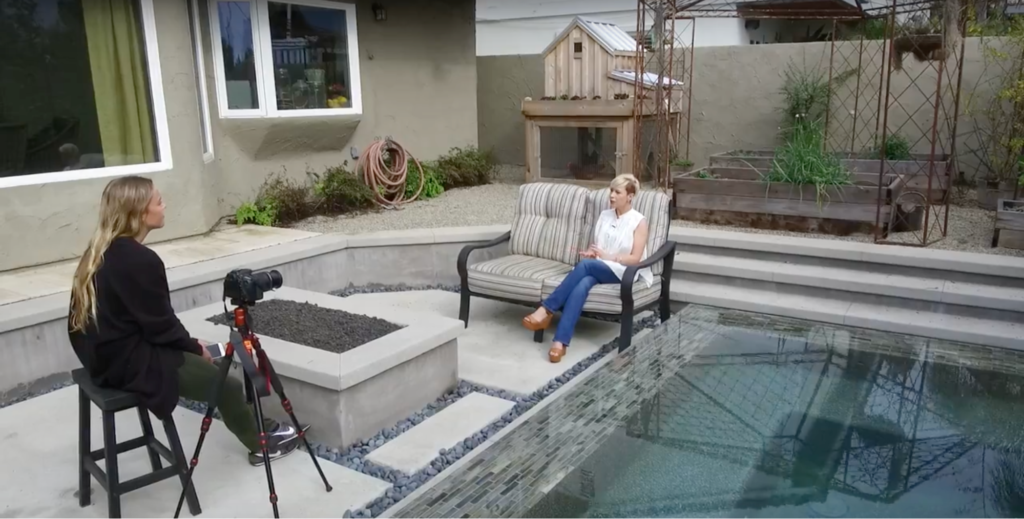
3. Set your interview up for success.
The best videos are prepared videos. Ben Franklin was onto something when he said, “By failing to prepare, you are preparing to fail.” Here’s how to prepare the interviewee, the interviewer, and the videographer for an optimal result.
For the interviewee:
- Plan your interview questions ahead of time. Share these with your interviewee so they can think about them beforehand and have thoughtful answers.
- Encourage your interviewee to use complete sentences. This places them, and your brand, in a better light.
For the interviewer:
- Don’t be afraid to go off script with your questions. Some of the best statements are candid ones.
- Think like an editor. If you love a certain statement, have the interviewee repeat it. Better to have too much footage than having to cut your best quote because it came out hard to hear.
For the videographer:
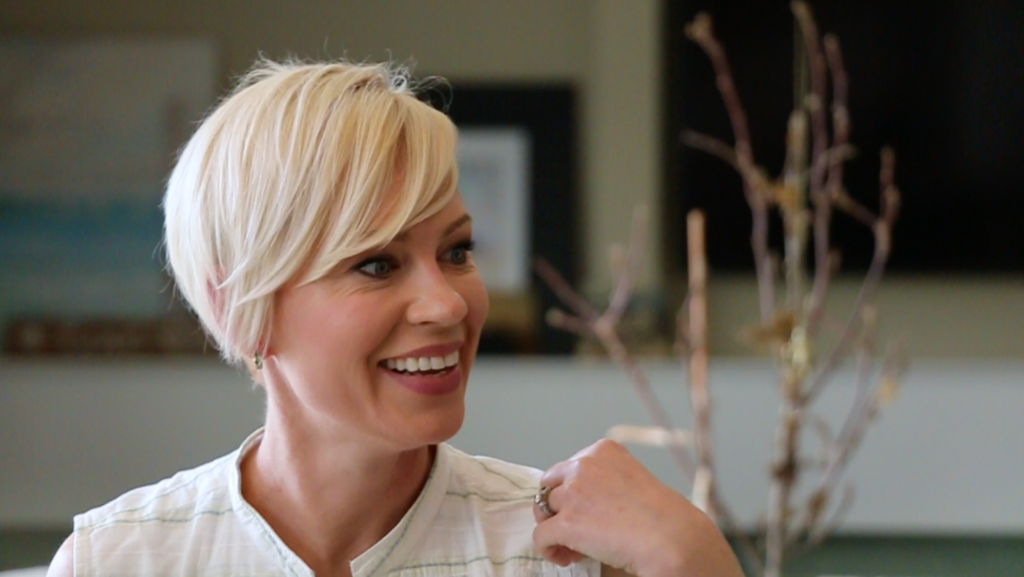
- Engage the audience with tight shots of the interviewee using the zoom lens. Tighter shots help people feel more connected to the interviewee.
- If possible, film in the morning before the sun is too harsh. This advice applies whether you’re filming outside or in a room with windows.
- Choose a location that will speak to the story, is quiet, and has natural lighting. This helps your video feel more authentic.
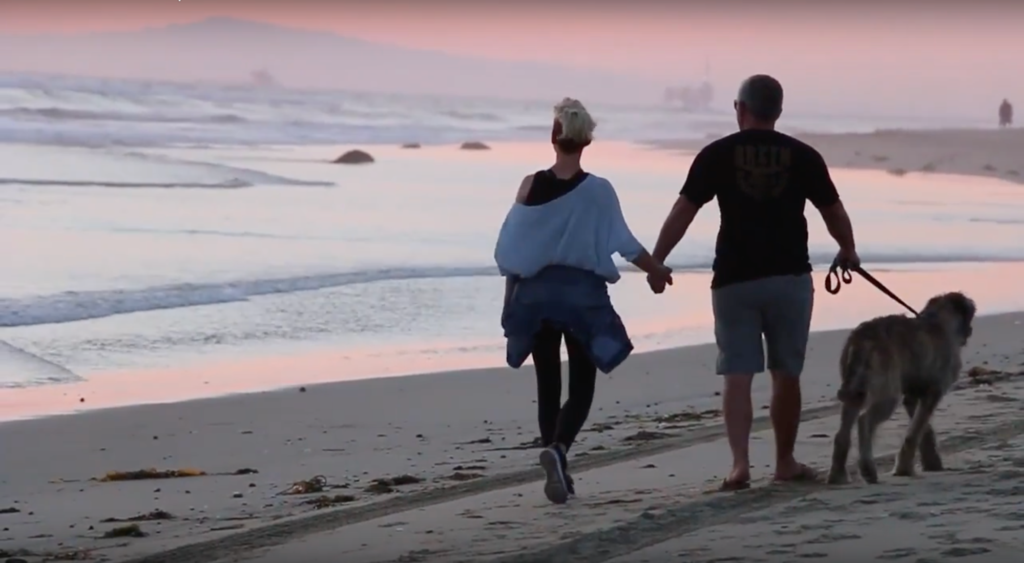
4. Prepare your B-Roll.
B-roll is supplemental footage that helps tell the story and create transitional shots between segments. Without b-roll, you’ll be left using bland PowerPoint slides to introduce segments or provide additional information. B-roll footage is more compelling and makes you look like a pro.
You’ll want to prioritize your interview first. This not only ensures you get everything you need from the interview, but also allows you to plan certain b-roll shots to illustrate parts of the interview. Highlight pieces of the interviewee’s everyday life. This makes them relatable and helps viewers imagine how your brand will fit into their own life. Get a variety of close up shots, wide shots, and movement shots.
5. Edit, edit, edit.
In some ways, the real work begins after you finish filming the video. Here’s what you’ll want to do next:
- Watch all your footage. Organize the video files and annotate the frames you want to include in the final cut. Adobe Premiere Pro, Final Cut Pro, and iMovie are all good options for your editing software.
- Add background music. Choose a royalty free song that changes tempo frequently, complements the story, and jibes with your target audience. Vidooly offers a list of reliable royalty-free music marketplaces.
- Create the final cut. First, sync the interview audio with the interviews. Then, organize the interview statements to tell a cohesive story. Finally, intermix your b-roll shots to correspond with the related interview shots.
- Don’t forget the call-to-action. Include a CTA at the end so that your audience knows what action to take after watching your video.
Congratulations!
At this point, you should have a completed video. Time to sit back, relax, and enjoy… or rather, engage in heavy promotion of said video.
Want to see how our video with Charla turned out? Watch it now:
Like what you see?
Contact Your Marketing People to create your brand video today.

